

It's my turn for the block of the month! I decided on a mixture of some of my favorite blocks. The wonky star and the log cabin block.

Supplies: 8-3 1/2 inch solid squares for background fabric.
4- 3 1/2 inch squares for the making the wonky stars.
1 1/2 inch square for the center of the log cabin.
1 inch strips for the log cabin

To make the center of your block start with your 1 1/2 inch square and your 1 inch border strips.

Use the desired strip to begin your log cabin center.

I trim mine and then sew.

Sew your 2 pieces together with a 1/4 inch seam allowance.

When you are finished turn it over and finger press your seam open.

Now that your seam is pressed you can start on the next side.

Keep sewing until your have bordered your block with the desired fabric. Continue bordering until you have bordered with 2 colors of your choice.

When you finish your log cabin block trim it to 3 1/2 inches.
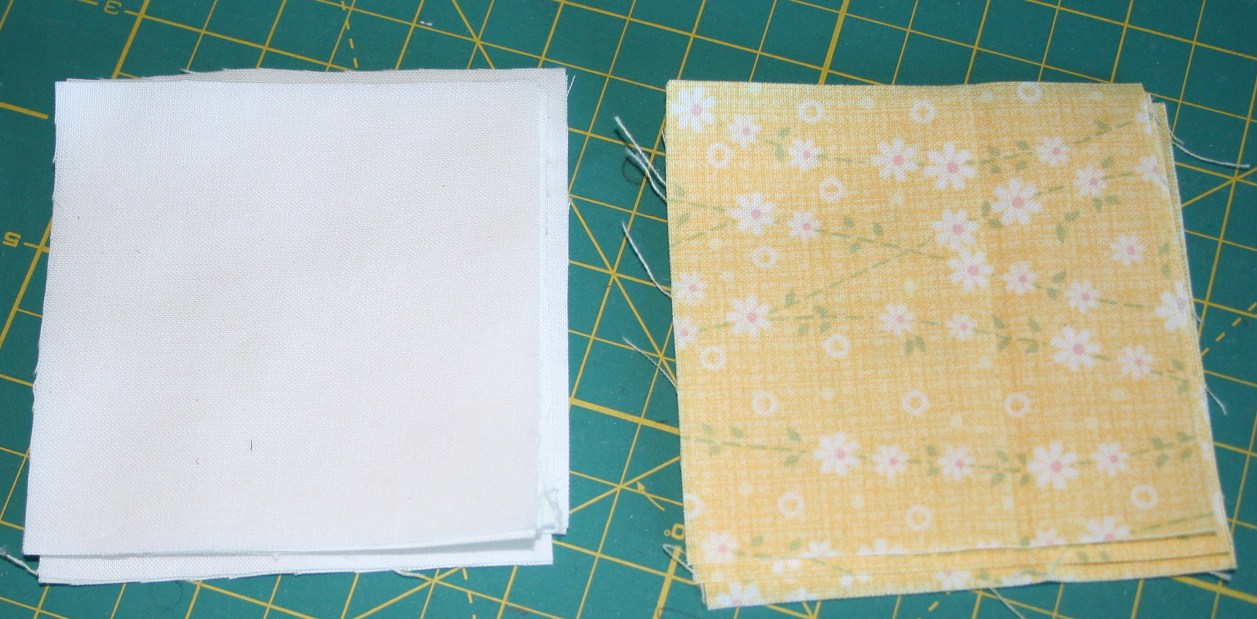
Now for the wonky star using your 12 3 1/2 inch squares.

Take your print fabric and cut them diagonally through the center.

Now take a 3 1/2 inch solid square and turn your fabric right sides together. Sew with a 1/4 inch seam allowance.

After you have sewn on your triangle cut the excess backing fabric and press.

After you press the one side you are ready to make the point on the other side of the block.

The best part of a wonky star is that you can make them as wonky as you want.

Trim the excess from the back.

your block will end up looking something like this.

Trim the edges so that it makes a 3 1/2 inch square. Repeat these same steps on 3 more blocks.

Sew in rows of 3 and press seams open.

When it is all finished you will have a 9.5 inch block.

Thanks to Dhia for hosting this great sew along. Head on over to her blog to see the previous blocks and see who is up for the January block of the month.


3 comments:
Hi!! This is a very pretty block!!! I will give it a try!!! Thanks for the fun!!!!
So beautiful block.I love it.Thanks for the tutorial!!
I'll be making mine up after christmas....I have had to pack my sewing machine away for the silly season already. Have visitors from tomorrow. tutorial looks great.
Post a Comment